ComfyUI
How to Swap Any Character With Your LoRA in ComfyUI
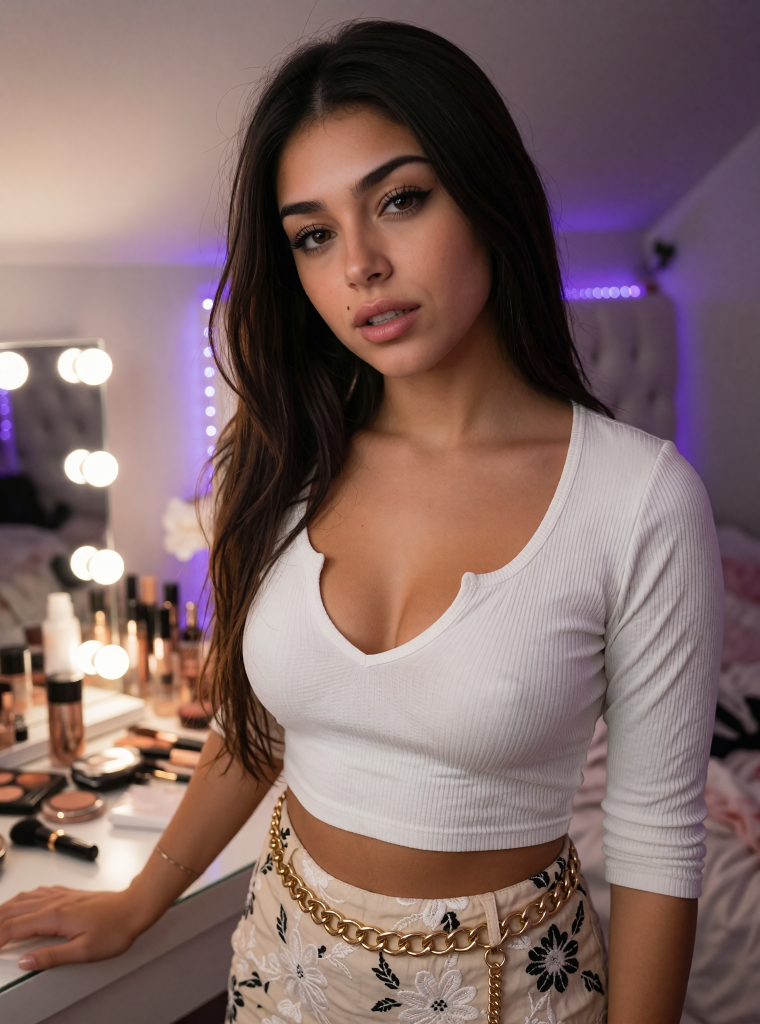
If you create consistent AI characters, you know the routine. You find a photo with the perfect scene, lighting and pose, and then you spend ten minutes writing a prompt that describes everything in it, just so your character LoRA can take the original person's place. Get the description slightly wrong and the scene drifts. Skip the prompt entirely and you get a blurry, mushy half-face, because the model has no idea what it's supposed to render.
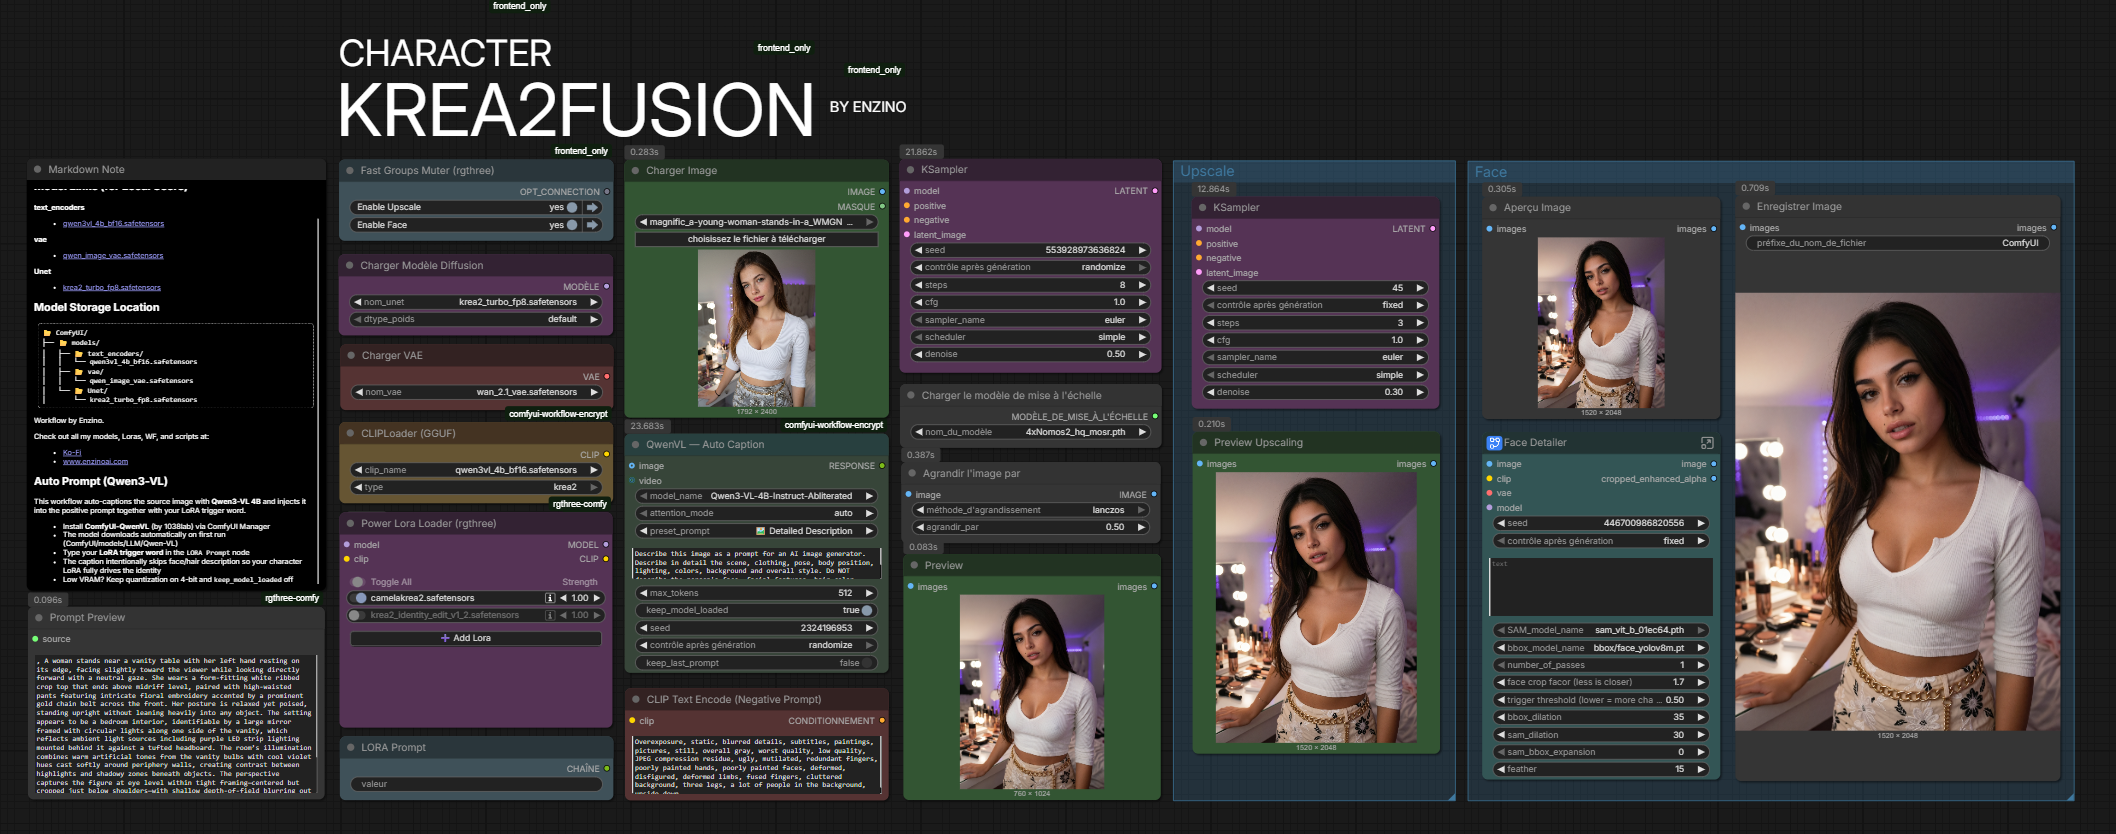
I built KREA2FUSION to delete that step completely. You load a source image, load your character LoRA, type its trigger word once, and hit Run. The workflow reads the image, writes the prompt for you, and regenerates the picture with your character in the scene. Same outfit, same pose, same lighting, new identity.
Why "no prompt" usually fails, and the trick that fixes it
Here's the interesting part, and the reason this workflow exists.
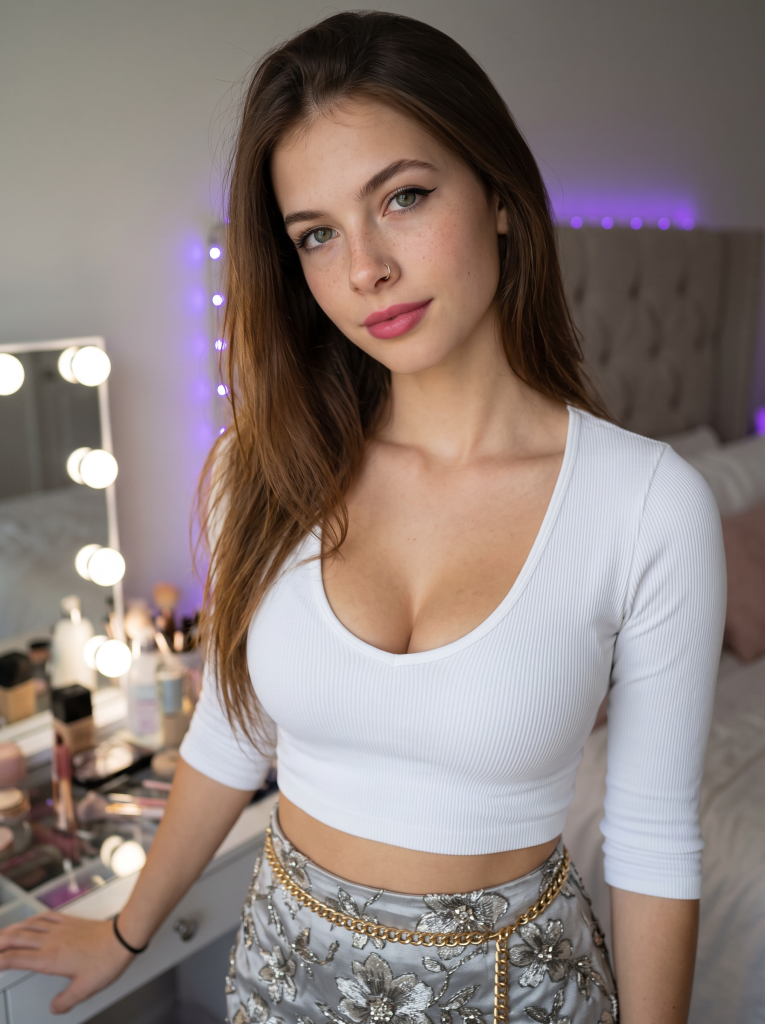
My first version was a simple img2img pass with the LoRA loaded and an almost empty prompt. The results were soft and muddy. That's not a sampler problem, it's a conditioning problem. Krea 2 leans heavily on its Qwen3-VL text encoder. With nothing meaningful in the prompt, the model has no semantic target, so it averages its way to a blurry compromise between the original person and your LoRA.
The obvious fix is auto-captioning: run a vision model on the source image and feed the description into the prompt. But there's a trap. A standard caption describes everything, including the original person's face, hair color and age. Feed that to the sampler and your caption is now fighting your LoRA for control of the identity. You end up with a 50/50 hybrid face that belongs to no one.
The fix is a captioning instruction that is deliberately blind to identity:
Describe the scene, clothing, pose, body position, lighting, colors and background in detail. Do NOT describe the person's face, facial features, hair color, hairstyle, age or identity. Refer to the person simply as "a woman" or "a man".
The caption locks the scene. The LoRA owns the face. Nobody fights.
What's inside the workflow
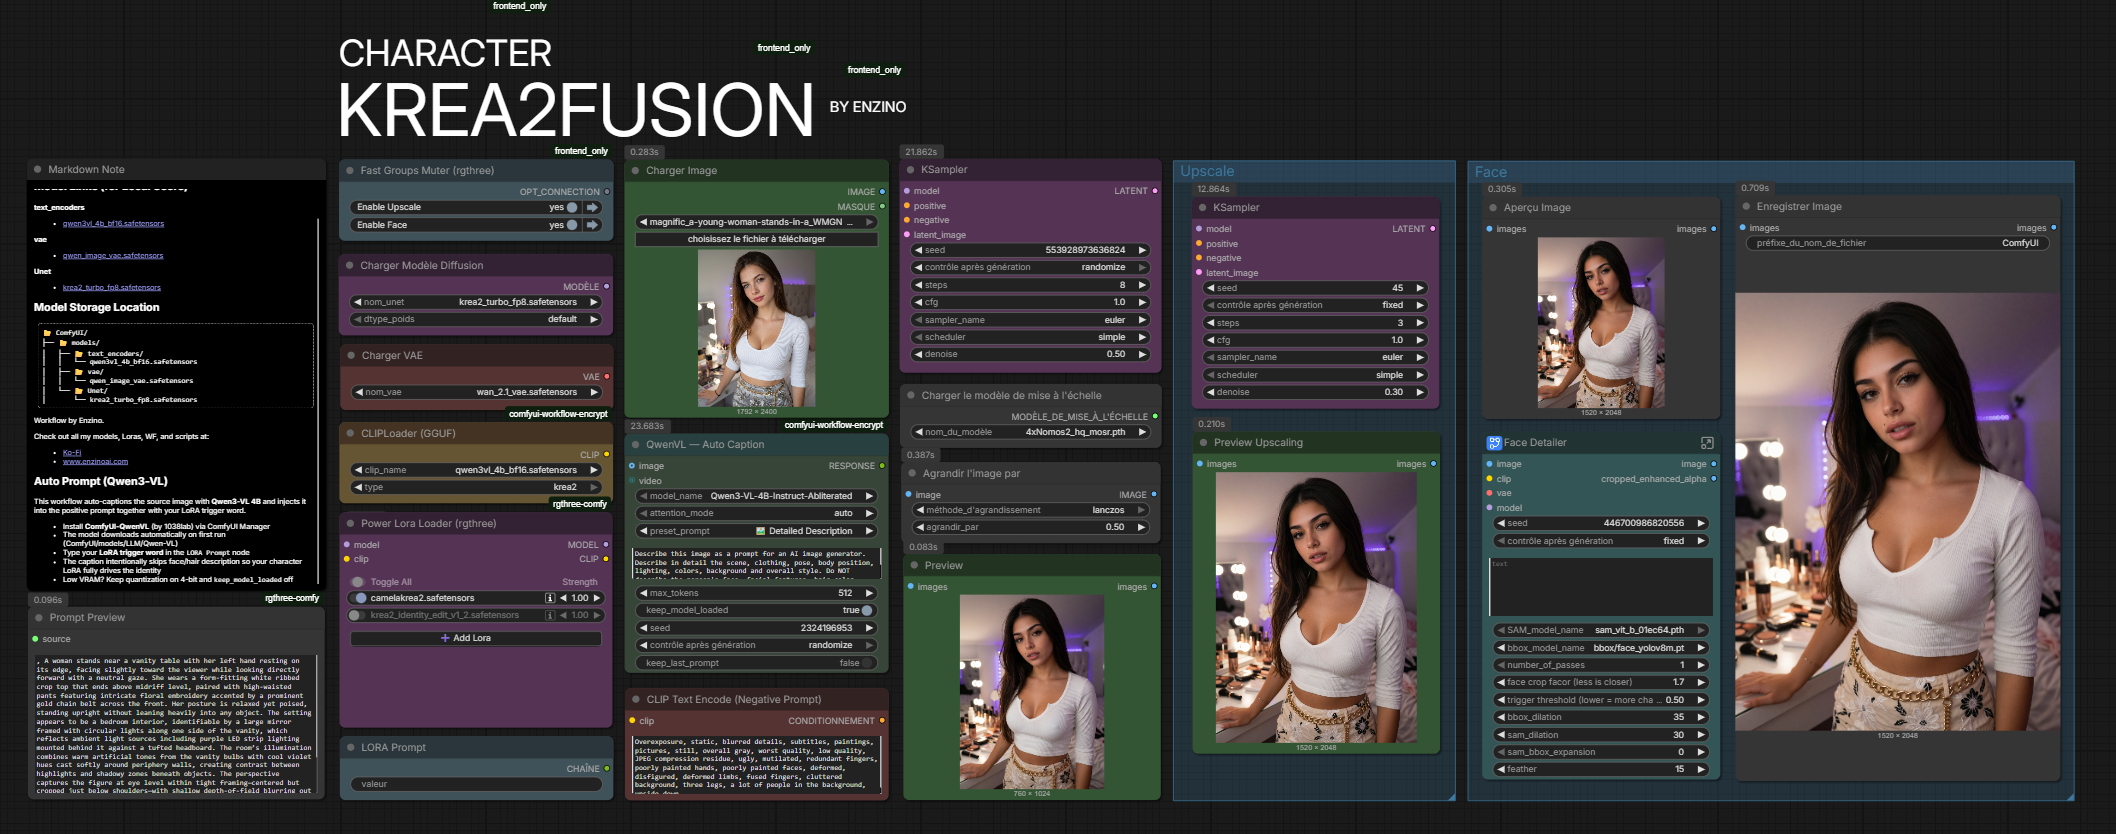
KREA2FUSION chains six stages:
- Auto Caption: the source image is described locally by Qwen3-VL 4B (via the ComfyUI-QwenVL node pack) using the identity-blind instruction above. Everything runs on your machine. No API, no account, no key.
- Prompt assembly: your LoRA trigger word is joined with the caption and sent to the sampler. A Prompt Preview node shows you the exact prompt used on every run.
- Pass 1, identity swap: an img2img pass at around 0.50 denoise. High enough for the LoRA to impose the new identity, low enough to preserve the composition.
- Pixel-space upscale: the result is upscaled with 4xNomos2_hq_mosr, then scaled to 2x. Real pixel upscaling instead of latent upscaling, and this is where the sharpness comes from.
- Pass 2, refine: a light second sampling pass at around 0.30 denoise cleans the upscaled image.
- Face detail: a final FaceDetailer pass polishes the character's face.
Setup in two minutes
Everything installs from ComfyUI Manager. Load the workflow, hit "Install Missing Custom Nodes", restart. The Qwen3-VL 4B model downloads automatically on the first run.
You'll need a Krea 2 checkpoint (I use my own IntoRealism Krea 2), the standard Krea 2 text encoder and VAE, the 4xNomos2_hq_mosr upscaler, and a character LoRA trained for Krea 2.
Then there's a one-time configuration. Open the QwenVL node, make sure the custom prompt field contains the identity-blind instruction (it ships pre-filled), set max_tokens to 512, and turn keep_model_loaded off so the captioner releases its VRAM before sampling. On 16 GB cards, leave quantization on 4-bit. The whole pipeline runs comfortably on my RTX 5080.
Type your trigger word in the LORA Prompt node, and you're done. From now on it's: drop image, pick LoRA, Run.
Tuning it to your taste
Two dials matter. If your character doesn't take over strongly enough, raise the first pass denoise toward 0.55 or 0.60. If the scene drifts too far from the source (outfit colors changing, background reshuffling), lower it toward 0.35 or 0.40. The FaceDetailer will still lock in the identity at the end. And keep an eye on the Prompt Preview: if it ever comes back empty or weird, the caption node lost its configuration.
Get the workflow
KREA2FUSION is available now on my Ko-Fi shop for $5, and it's included free with the Pro membership, along with all my other workflows, my custom nodes and every future update.
An Instant Edition is coming next, powered by my Img2Prompt node. Same pipeline, but the captioning happens in about a second through a vision API, with zero VRAM used. Ideal for batch processing. Follow my Ko-Fi page or join the Discord to catch the release.